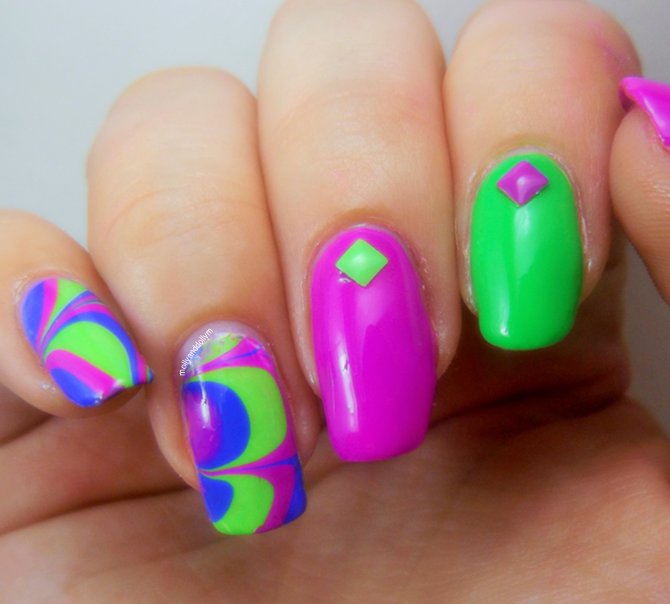
Hi! Today I have something a little crazy, a neon water marble! I normally wouldn't wear a design like this, but sometimes it's nice to try things out of your comfort zone .
You only have to mention the words water marble and people go crazy! It's a trick that has taken over the nail art world, as with the correct tools, it's quick and easy to create amazing and unique designs on your nails.
I started water marbling years ago, it was one of the first designs I ever discovered. After learning new designs and being able to draw things on my nails, water marbling kind of took a back seat. I was really exciting to try it again after so long! I think it turned out okay!

A lot of people seem to have trouble with water marbling, mainly because they don't have the correct equipment in order for the design to be a success. It's important to have room temperature water, at least for me, cold or warm water doesn't work. It's also vital to have the correct polishes, glitters, shimmers, and metallics don't tend to marble well, thin crème polishes work the best for me.
You can find countless videos on YouTube about water marbling, My Simple Little Pleasures is the Queen of water marble!

Water marbling can be an amazing way to create nail designs if you have the correct tools for the job! I found that the purple I used didn't spread out well in the water, this is because this polish is quite thick and gel like. The green polish is a super thin crème, it spread out amazingly in the water. I would say it's much better to use thin polishes in order to create a pattern in the water. Polishes that don't spread out tend to form small rings, which are harder to create designs on.
Polishes used -
Illamasqua - Nurture
Models Own - Purple Bandana
Sally Hansen - Pacific Blue
Base Coat - OPI Nail Envy
Top Coat - Essence XXXL Plumping
Tools used -
Water
Small bowl
Toothpick
Molly x


0 comments:
Post a Comment